共有回帖数 2 个
-

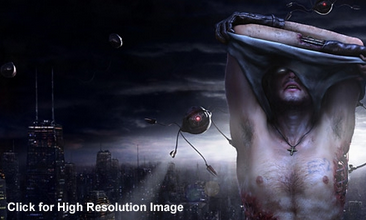
Story-Concept-Designing-SketchingMy inspiration comes from a fiction story which tells a warbetween human beings and machines. Human beings were almost extinct. Thesurvivors became stronger by aberrance. Can we win? I think it looks likeMatrix :)
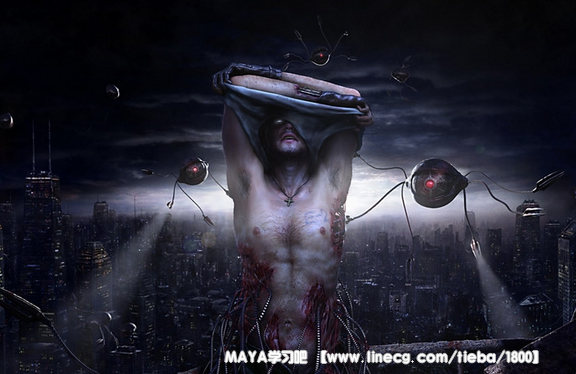
Thisimage wants to express the rebellious spirits of human beings, foretelling thatthe victory finally will be coming. Therefore, I put the character into aobscure and repressive environment and wanted to express the human powerthrough the gesture and body language of the character. What's more, there is abig area light source in the background which stands for the victory. In orderto make the whole image full of magnificence; I decided to make use of a hugecity to be my background. The whole image is filled with chaos and destroys,but meanwhile I don't want it to look too horrific and bloody.
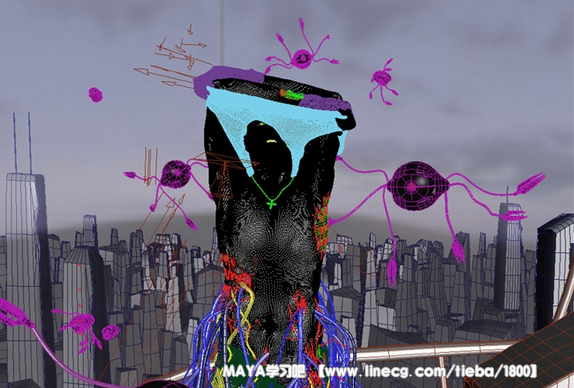
Idrew the draft and the color relationships quickly, then continued to add myown idea and used someone's great concept for reference. Once I think thegeneral design was well, I turned to next step. I didn't want to spend too muchtime on this step because maybe I could refine it afterward. Have a look thefinal image and a wireframe image.我的灵感来自于一个虚构的故事里,这个故事讲述了一个人类与机器之间的战争。人类几乎灭绝,幸存者的影响更加强烈了,我们能赢么?我认为它看起来更像是母体。这张照片主要表示的是叛逆的精神,源自于人类最后的胜利就要来临,因此我把角色转换到一个晦涩、压抑的环境当中,要表达人类力量通过手势和身体的语言来展示,更重要的是,要有一个很大的区域背景光源已代表胜利。为了使整个的形象,充满了华贵,我决定用一个巨大的城市背景,整个图像充满了混乱和破坏,但与此同时,我不希望它看起来太过恐怖和血腥。我画了草稿和色彩的关系,然后继续添加自己的想法和别人的伟大构想,以供参考。我曾经认为一般设计好,就可以转向下一步骤。而我不想花太多时间在这一步上,因为在后面的步骤我会润色一下,这里有一张我构想好的图片和一个线框图像。

Collecting References
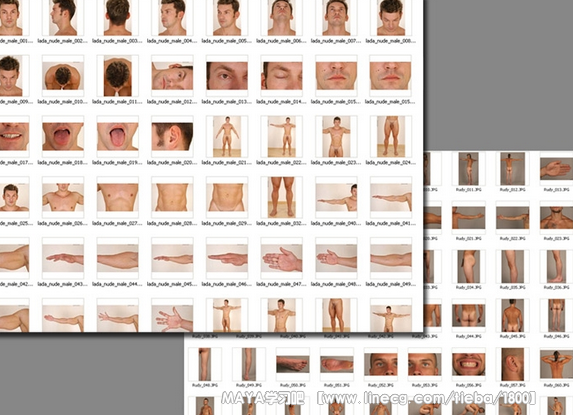
After I finished the concept design, I spent a whole daycollecting various references such as human anatomy pictures, human skintextures, machine and architecture textures, environment textures and so on.Certainly, I should thankwww.3d.sk,because almost all my references are from there. Then, I modified my designagain.收集资料在我完成最基础的概念设计之后,我花了一整天的时间来收集各种资料和人体解剖图片,人体皮肤纹理的图片、机械和建筑环境纹理等,当然我应该感谢www.3d.sk,因为几乎所有的资料都是来自于那里,然后我开始修改我的设计了。

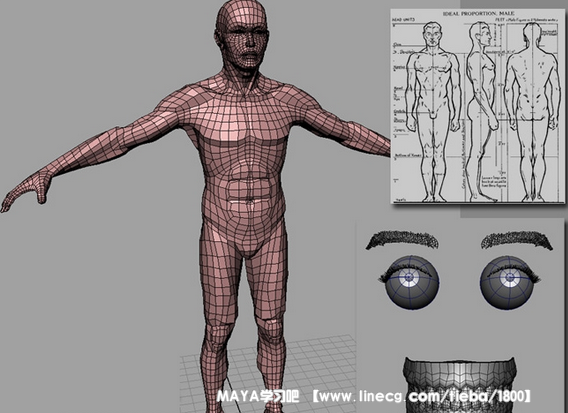
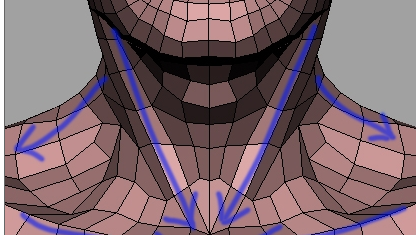
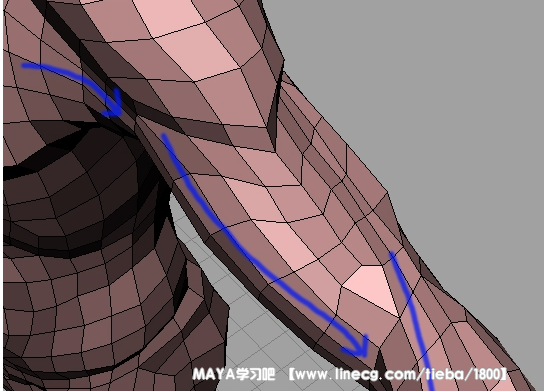
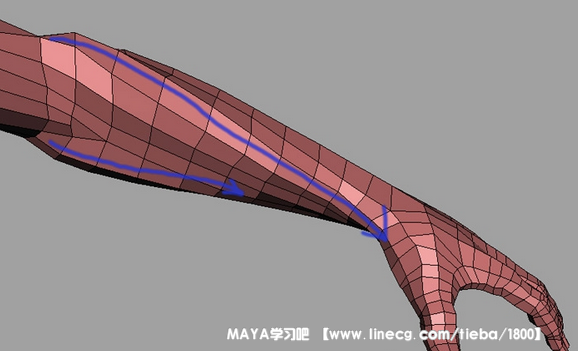
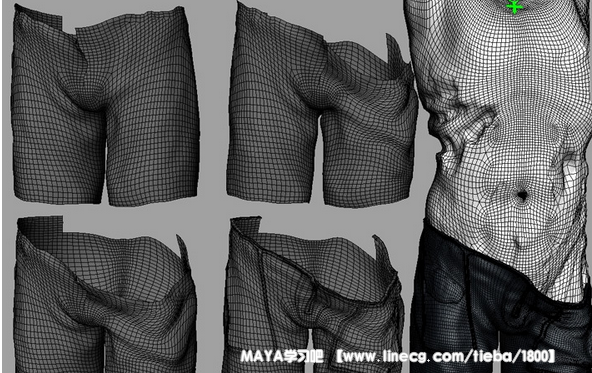
Now, it’s the low polygon modeling process. The character wasmodeled in Maya. First I modeled a standard human body and spent much time onhis topology structure because I needed him to pose a high-difficulty gestureafterward. Then teeth, eyes and hair, these are needed some patience, I think.现在我开始建造低模,模型在maya里创建,首先我模仿了一个标准的人体,并且花了很长时间在他的拓扑结构上,因为我需要他蒙皮后能自然的做出动作,而不会导致瑕疵。然后牙齿、眼睛和头发,在这个步骤里我想应该需要多一些的耐心。

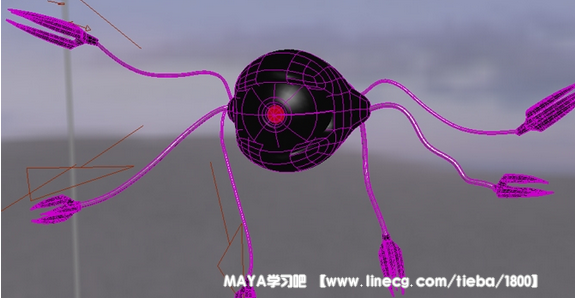
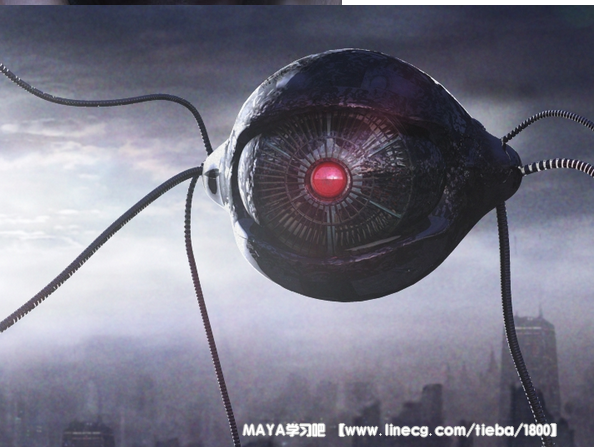
After that, it’s time for the aircrafts and foreground. Thereare some blue arrows where needs to be careful for modeling.之后开始创建他的飞机和前景,飞机有一些蓝色的箭头的地方要小心建模的需求。


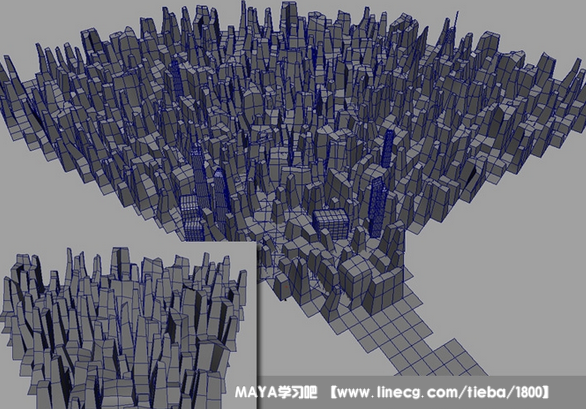
By the way, I want to say something about the city. Because Iwould use matte painting to do it, so now I didn't need to model it tooseriously, just like a city. It’s OK.顺便说一下,我想说一些关于这个成熟,因为我将使用绘镜来做这件事,所以建模的时候我只需要简单一些的模型就可以了,只要像一个城市,就ok~~

UV's
This character was made for an illustration, so I didn't set UVaccording to the normal method. I just let the parts which can be seen take upmore UV space. The other things' UVs are nothing fancy.展uv这个角色我没有按照正常的uv方式,我只把能看到的部分展好,其它看不见的地方可以不需要太在意。

Skin Shader
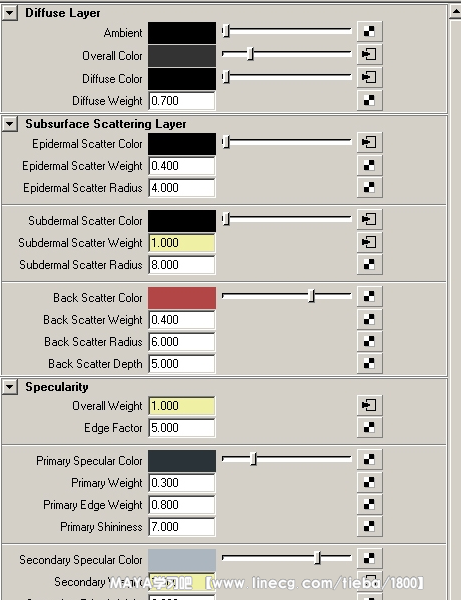
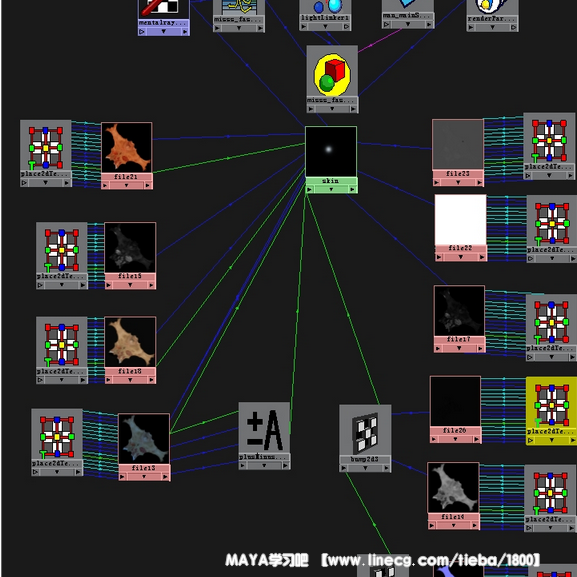
Someone asked me how to connect Mental Ray FAST SKIN Shader.Everyone has his own way. As a whole, in my opinion, I think it's best forcontrolling every parameter as possible as I could. Therefore, I used about 10maps to control the more important parameters (such as Diffuse Color, EpidermalScatter Color, Subdermal Scatter Color, Primary Weight, Secondary Weight and soon) My own experience is that the SSS effect of some places like ears can't betoo high-that is, not being too reddish, because the real man couldn't be like that.We need the feeling of the skin between plastic and wax. Because I used the HDRto illuminate; I must click Include Indirect Lighting in light map node.皮肤材质有人问我如何能快速的在uv上画出皮肤的纹理,每个人都有自己的方法,作为一个整体,在我看来,我认为让每个参数都能控制住就是最好的办法,因此我用大概10来控制更重要的参数,(例如漫反射、材质颜色、反射、折射、权重等),我自己的经验是,sss的渲染方式,有些地方如耳朵参数就不宜太高,要不然耳朵会显得比较红,跟真实的人不太相似。我们需要的感觉是让皮肤有一种塑料盒蜡质的感觉,因此我用HDR照亮,然后跟灯光的属性链接。


Texturing
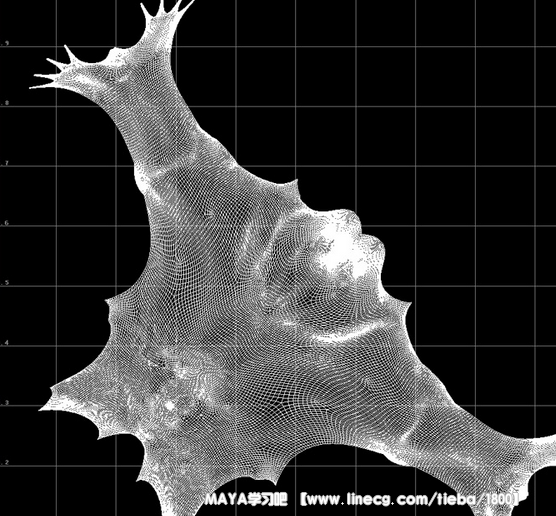
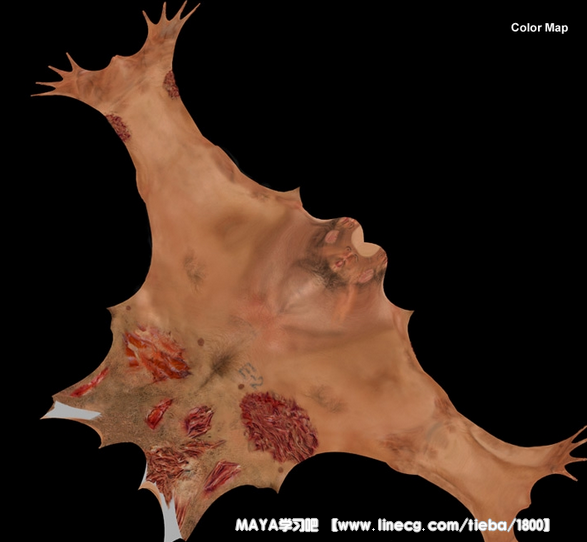
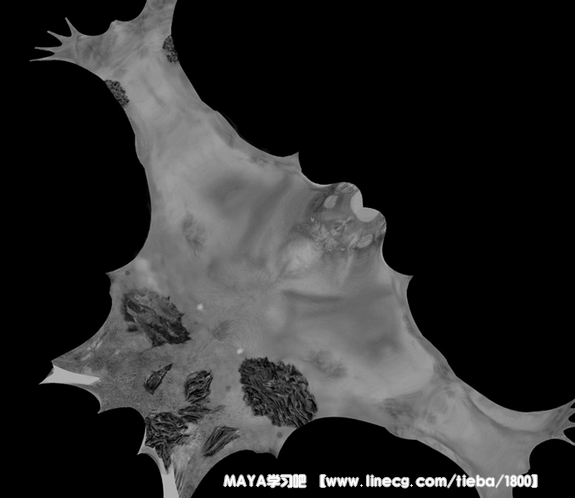
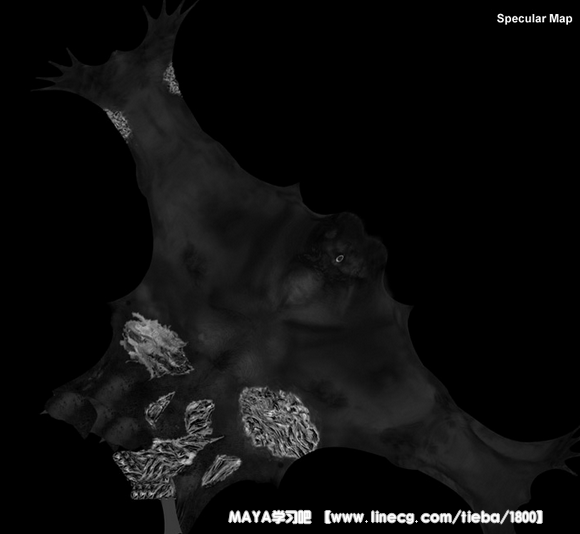
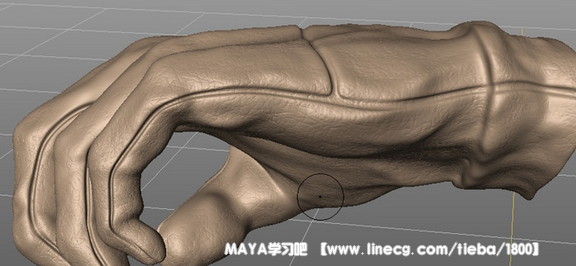
For this image, painting the texture is a complicated process.Basically, most textures of this character are 4096*4096 sizes. First of all, Idid the color map by hand painting and some photos, then desaturated color andmade the bump map and specular map ¬ after that, I changed the tone and detailsof the color map as the Epidermal Scatter Color, Subdermal Scatter Color, then changedthe specular map as the reflection map. I got a very detail normal map inmudbox by a high-rez model which included about 5 million poly. I wanted to letthe scene look worn and real. Then I used body paint to remove texture seamsand added more bloodstains and dirt. I like super details. Here are the color,bump, specular map.贴图这个图像的贴图,绘画是一个复杂的过程。基本上,绝大多数的皮肤纹理都是4096*4096的尺寸。首先,我画了手的彩色贴图,然后又做了一个凹凸贴图和镜面反射的贴图,之后我仔细的改变了一下皮肤的反射颜色及参数,为了让模型显得更加真实,我用油漆的材质球模拟受伤的肌肉纹理,又增加了更多的血迹和泥土,我喜欢细致的工作。这里就是颜色、凹凸和反射贴图。


Here are the normal map and trousers.这就是最终的贴图了。

Pose Layout
This step, I bind the character,posed him, put all the aircraftsand objects, making them look like my design.
Remodelling
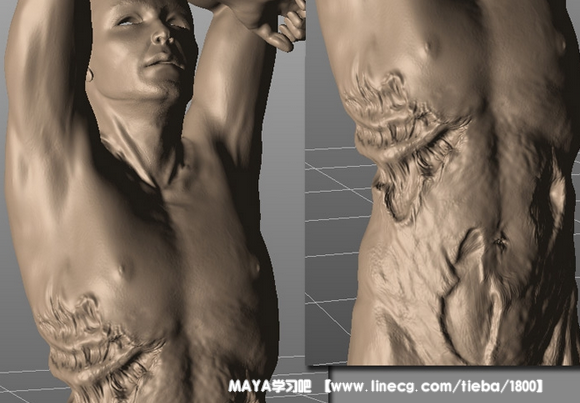
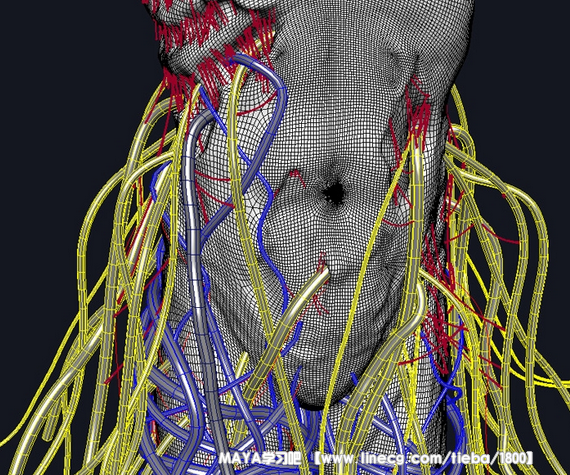
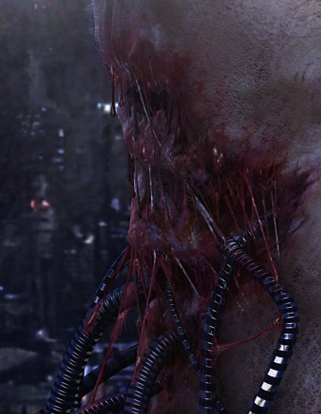
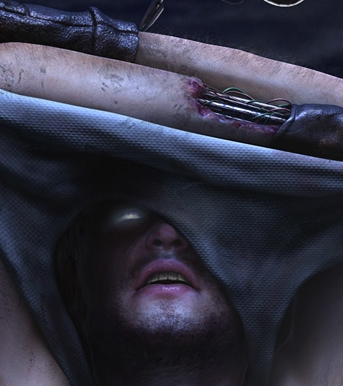
After the layout, I began to model high-rez poly.This step almostmade me crazy. I adjusted the body feature in mudbox.Then finish the high-rezpoly human body model and import it back to maya. Then I constructed manytubes.They are just some NUBRS. I must pay attention to their disordered placesand crazy blood vessels were also coming, just endless placing and modeling.Then model the clothes, gloves and trousers.模型姿势这一步, 我要确保他的性格,才能完美的设计出他的poss,我把所有的飞机和物体都加进去,逐步的让它完成我想象中的模样。重塑布局之后,我开始建造更加细致的部分,这个部分几欲让我疯狂,我雕刻出模型的伤口,然后导回maya里,我又创建了许多的管道,他们只是一些简单的nubrs曲面,我必须要注重他们之间的穿插,不断的重复创建血管,不断的调整形状,之后开始创建衣服、手套和裤子。


Lighting
I used Mental Ray IBL with a HDR picture and several lights forspecial purpose. I think there are two primary light sources: aircraft’s sportlight above the character and the huge area light source in the background.
Hair and Fur
I finished the bodyfur and hair by Paint Effects, of course thefuzz, if you can see them.
Rendering
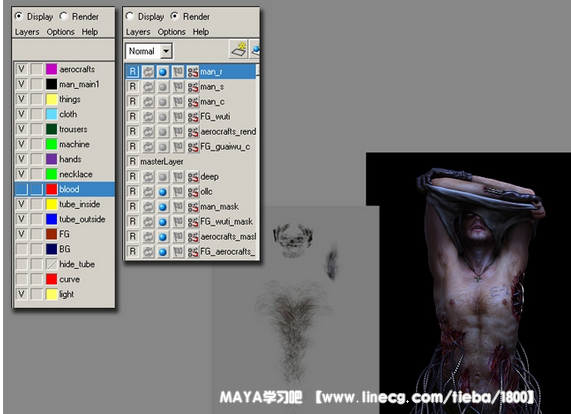
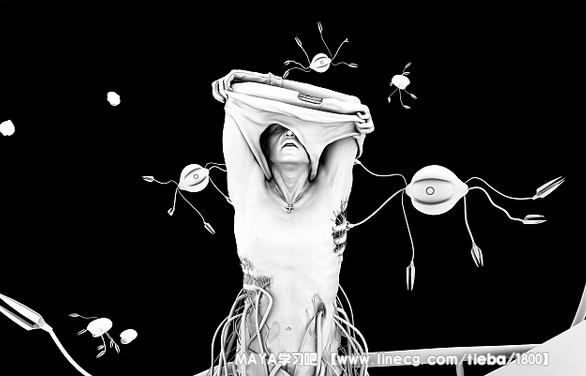
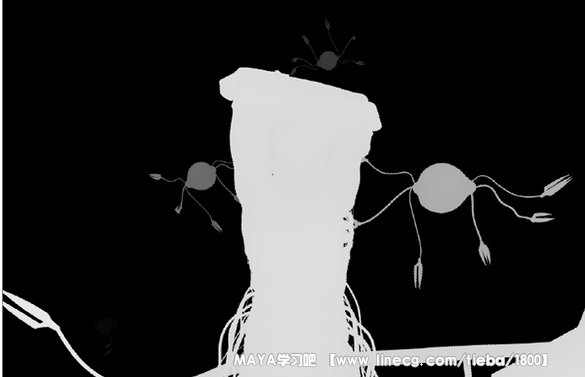
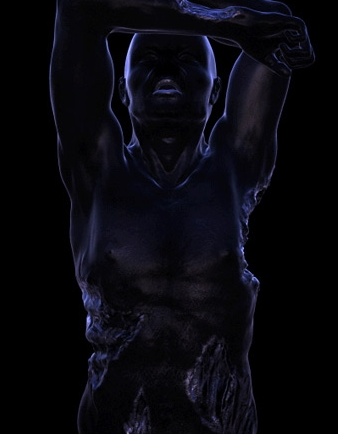
I rendered the image multipass, which made me easily modify andcontrol them.The final image's size is 3500*2500. Here are the diffuse layerand bodyfur layer.灯光我经常使用HDR和mental ray 来渲染。我认为在这个设计中主要有两点来源:一个是飞机运动时的光和巨大背景的光源。头发和毛发我完成了身体的毛发在Paint Effects中,当然有点模糊,如果你能看到他们的话。渲染我提供了多个图层来一一渲染,这样会很容易修改和控制他们,我选定的尺寸是3500*2500,这是扩散层和毛发层。

Here are the occlution layer and deep layer.这里是ao渲染和景深。


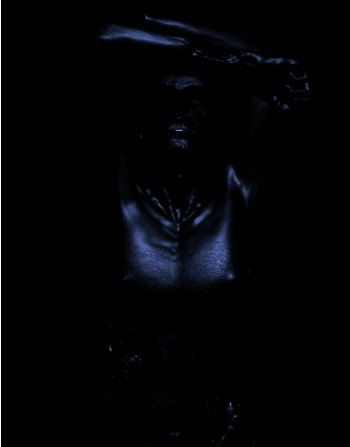
Here are the reflection layer and specular layer. I exaggeratethe effect so that you can see.这里是反射层和折射层,当然,这是我故意夸张了一些,方便让你们看的更加清楚。


Matte Painting
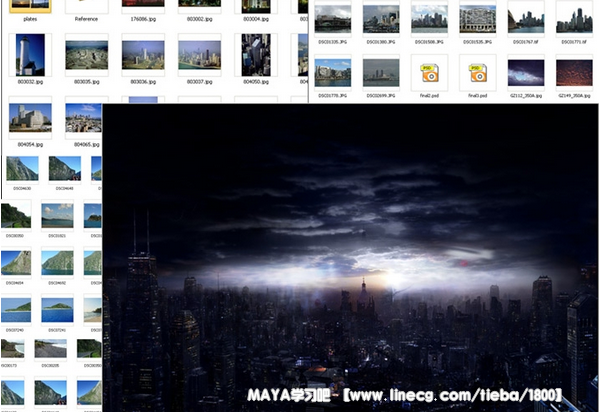
Because this is not a tutorial for matte painting, I won't saytoo much about this step. I just constructed the city in Maya and rendered thedeep map, ambient occlusion map and atmosphere map. Then use the photoreferences which come from internet and digital pictures taken by myself tocomplete this city in Photoshop. This is the complete background. I don't careabout the parts which are covered by character. I think I'm a little satisfied.绘画因为这不是我主要讲解的地方,所以我说的可能会尽量简单一些,我在maya里刚刚建造了一个粗略的城市模型,和环境的模型。我参考了互联网上的图片由自己构想出来,这里就是完整的城市背景,不过说起来,我有一些不满意的地方。

Compositing and Effects
I put all the passes into Photoshop and made use of some skillsto let them work better. Add the effect in PS such as lenses effect,light fogand noise effect and adjust layers.
Refining
In the end, I refined this image such as micro-blood vessels andbeard.合成和特效我在这里运用了所有的ps合成的技巧,以便能更好的工作。添加效果如透镜效果,ps轻雾、噪声效果和调整层。精炼最后我又添加了一些纤维血管和胡子。


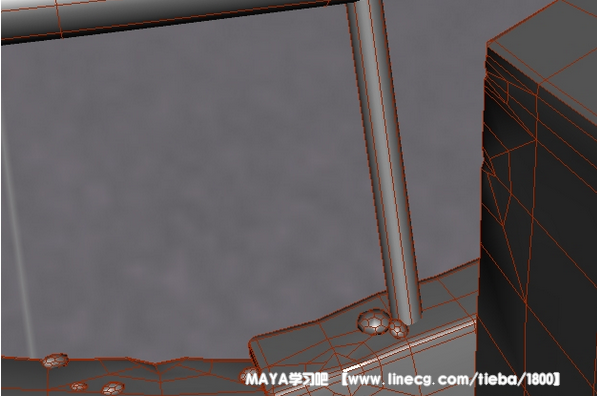
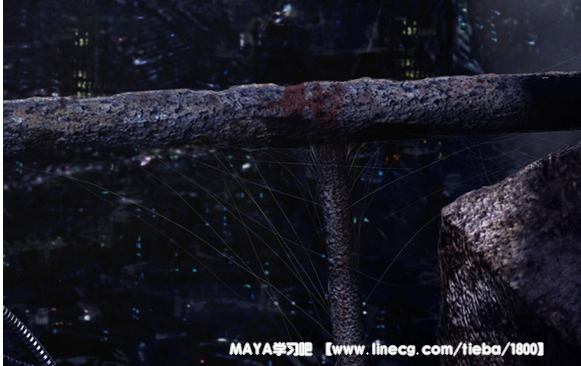
Details of aircrafts and foreground.详细的飞机和前景部分。

最终效果就是下面这个样子了!

楼主 2015-07-24 10:17 回复
-

1楼 2015-09-10 10:40 回复
-

2楼 2015-11-22 11:30 回复
Copyright © 2010~2015 直线网 版权所有,All Rights Reserved.沪ICP备10039589号
意见反馈 |
关于直线 |
版权声明 |
会员须知
